Tenant Onboarding Document Checklist for Landlords

TL;DR:
- A comprehensive tenant onboarding process requires six sequential phases with signed, timestamped documents at each step. Automating workflows reduces time, guarantees compliance, and builds a legally sound foundation for the tenancy. Using Landlordforms streamlines document generation, inspection storage, and recordkeeping across portfolios.
A complete tenant onboarding document checklist covers six phases: pre-move-in preparation, lease execution and legal compliance, move-in inspection and inventory, key handover and utility transfers, property orientation, and welcome communication and follow-up. The non-negotiable documents are an executed lease (all adult tenants signed), deposit receipt and protection proof, signed photographic move-in inventory, state-required disclosures (lead paint, mold history, bedbug disclosures where applicable), meter readings, key receipt, and written contact and maintenance instructions.
At a glance — must-have documents:
- Executed lease agreement (all adult tenants)
- Security deposit receipt and protection confirmation
- Signed, timestamped photographic move-in inventory
- State-required disclosures (lead paint, mold, bedbug as applicable)
- Meter readings at move-in
- Key and access receipt
- Contact and maintenance instruction sheet
Landlordforms provides state-specific templates and automated workflows that convert this list into a repeatable process, reducing manual entry errors and saving hours per tenancy.
Table of Contents
- What goes on a tenant onboarding document checklist?
- Phase 1: Pre-move-in preparation — screening, deposits, and unit readiness
- Phase 2: Lease execution and legal compliance — what to serve and when
- Phase 3: Move-in inspection and inventory documentation
- Phase 4: Keys, access, and utility transfers
- Phase 5: Property orientation — rules, how-to, and habit-setting
- Phase 6: Welcome communication and post-move-in follow-up
- How long does tenant onboarding take, and what does it cost?
- Legal-risk checklist and document retention best practices
- How to turn the checklist into an automated workflow
- Key Takeaways
- Why standardized onboarding matters more than landlords think
- Landlordforms makes tenant onboarding faster and more consistent
- Useful sources and where to check local rules
- FAQ
What goes on a tenant onboarding document checklist?
| Phase | Key Documents | Who Signs | When |
|---|---|---|---|
| 1. Pre-move-in | Application, ID, income proof, screening consent | Applicant | Before approval |
| 2. Lease execution | Signed lease, disclosures, deposit receipt | All adult tenants + landlord | At or before possession |
| 3. Move-in inspection | Signed photographic inventory, condition report | All adult tenants + landlord | Move-in day |
| 4. Key handover | Key receipt, utility transfer confirmations, meter readings | Tenant | Move-in day |
| 5. Property orientation | Welcome packet, rules acknowledgment, renter insurance proof | Tenant | Move-in day |
| 6. Follow-up | 7-day check-in record, 30-day call log, maintenance log | Landlord | Post-move-in |
Store both a physical and digital copy of every signed document in the tenant file. Timestamp all photo evidence at capture.
Pro Tip: Use Landlordforms to generate a move-in/move-out checklist instantly — no blank forms, no missed fields.
Phase 1: Pre-move-in preparation — screening, deposits, and unit readiness
Before a tenant sets foot in the unit, three things need to be locked down: the applicant file, the deposit, and the physical property.
Screening checklist:
- Government-issued photo ID (driver’s license or passport)
- Proof of income (pay stubs, offer letter, bank statements, or tax returns for self-employed applicants)
- Employment details and landlord references
- Signed screening consent for credit and background checks
- Social Security number or alternate ID for screening systems
Run ID verification, income validation, credit check, and reference calls in parallel rather than sequentially. Sequential checks are the single biggest source of unnecessary delay in the applicant-to-tenant funnel.
Deposit and unit readiness:
- Collect the full security deposit by certified check, cashier’s check, or verified electronic transfer
- Issue a written deposit receipt immediately
- Confirm all repairs are closed, cleaning is complete, and safety certificates (smoke detectors, CO alarms) are current
- Prepare the move-in inventory template before the walkthrough
Pro Tip: A short, decision-focused application that triggers all background checks automatically cuts time-to-move-in significantly. The role of tenant screening documents explains what to collect and how to attach evidence to the tenant file.
Phase 2: Lease execution and legal compliance — what to serve and when
Every adult occupant signs the lease before possession. Dates, party names, and rent amounts must be consistent across every page and every attached schedule.
Required at or before possession:
- Fully executed lease agreement with all schedules attached
- Lead paint disclosure (required federally for pre-1978 properties)
- Mold history disclosure (required in many states)
- Bedbug disclosure (required in states including New York and Maine)
- Deposit protection confirmation and prescribed information
- Copy of gas and electrical safety certificates where required
State and local rules vary significantly. Consult landlord disclosure requirements for your jurisdiction before finalizing the lease package, and verify current mandates with local counsel.
Failing to serve required disclosures can prevent landlords from serving valid notices or recovering deposits in some US jurisdictions. That is not a paperwork technicality — it is a direct threat to your ability to enforce the tenancy. Deposit protection timing matters equally: register the deposit with a compliant scheme promptly after receipt and issue the required documentation to the tenant.
Pro Tip: Send the tenant a copy of all signed lease documents within one week of execution. It signals professionalism and closes a common recordkeeping gap.
Phase 3: Move-in inspection and inventory documentation
The move-in inspection is the baseline evidence in every deposit dispute. Property managers treat a shared, signed document as decisive — without it, a landlord forfeits the practical ability to use a security deposit at move-out.
Room-by-room inspection checklist:
- Walls, ceilings, floors (note scuffs, stains, damage)
- Windows, doors, locks (condition and function)
- Kitchen appliances (test each one, note existing damage)
- Bathroom fixtures and plumbing
- HVAC, thermostat, smoke and CO detectors
- Outdoor spaces, parking, storage areas
Photo and video best practices:
- Photograph every room, wall, appliance, and floor
- Use a device that embeds a timestamp automatically, or use a timestamping app
- Name files consistently:
[UnitAddress]_[Room]_[Date] - Store originals in the tenant’s digital folder immediately after the walkthrough
Both the landlord (or agent) and all adult tenants sign the completed inventory. Retain a printed copy in the physical file and a digital copy in the tenant folder. Timestamped, signed inventories are consistently preferred by deposit adjudicators as primary evidence.
Pro Tip: Treat every photo as a potential exhibit. Blurry, undated images lose disputes that clear ones would win. See how to document the move-in process for a practical photo workflow.

Phase 4: Keys, access, and utility transfers
Key handover is simple to execute and easy to skip documenting. Both are mistakes.
Key handover record:
- Number of sets handed over (unit key, mailbox key, fob, garage remote)
- Tenant signature confirming receipt
- Note of any access codes provided
- Process for reporting lost keys and associated replacement costs
Utility transfer steps:
| Utility | Action | Documentation to Collect |
|---|---|---|
| Electric | Tenant opens account or transfer confirmed | Account confirmation email |
| Gas | Tenant opens account or transfer confirmed | Account confirmation email |
| Water (if tenant-billed) | Notify provider of tenancy start | Transfer reference number |
| Internet | Tenant arranges own account | N/A |
Record meter readings for electricity, gas, and water at the moment of handover. Photograph the meters with a timestamp. These readings are the billing baseline and the evidence if a utility dispute arises later.
Steps to complete on handover day:
- Walk the tenant to each meter and read it together
- Photograph each meter display
- Log readings in the tenant file with the date
- Confirm utility account transfers or new account setups in writing
Phase 5: Property orientation — rules, how-to, and habit-setting
A formal move-in experience with a structured welcome packet limits early tenancy friction and sets maintenance-reporting norms from day one.
Welcome packet checklist:
- Emergency contact numbers (landlord, property manager, maintenance)
- Maintenance request procedure (how, where, and expected response times)
- Trash and recycling schedule and locations
- Parking rules and assigned spaces
- HVAC operation and filter replacement schedule
- Water and gas shut-off valve locations
- Amenity access instructions (gym, laundry, storage)
- Renter’s insurance requirement and proof deadline (if applicable)
- Wi-Fi details for common areas (if relevant)
Walk through HVAC operation, appliance use, and shut-off locations in person. A short video covering the same points works well as a follow-up reference. Tenants who understand how the property works generate fewer unnecessary maintenance calls.
Pro Tip: Hand the welcome packet to the tenant physically on move-in day and email a digital copy the same evening. Two formats means no “I never received it” disputes later.
Phase 6: Welcome communication and post-move-in follow-up
Professional early engagement improves tenant compliance and renewal rates. The first 30 days set the tone for the entire tenancy.
Follow-up timeline:
- Move-in day: Send portal access link and digital welcome packet
- Day 7: Email or text check-in — confirm everything is working, invite maintenance reports
- Day 14: Follow up on any open maintenance items
- Day 30: Courtesy call to confirm payment setup, address any concerns
Sample Day 7 message: Items to verify at each check-in:
- Portal or payment system access confirmed
- Any maintenance issues logged and assigned
- Utility accounts confirmed active in tenant’s name
- Renter’s insurance proof received (if required)
Early human contact — a real call, not just an automated email — surfaces repair issues before they become disputes and signals that you run a professional operation.
How long does tenant onboarding take, and what does it cost?
| Workflow Type | Typical Timeline | Main Delay Points |
|---|---|---|
| Manual (paper-based) | 2–3 weeks | Sequential checks, chasing signatures, manual filing |
| Partially automated | 7 days | E-signature gaps, manual inspection scheduling |
| Fully automated | Under 7 days | Minimal, if file-complete gate is enforced |
An automated playbook can convert applicants to move-in-ready tenants in under 7 days when parallel checks and e-signatures are used throughout.
Common onboarding costs:
- Unit cleaning (one-time per turnover)
- Rekeying locks (one-time, strongly recommended)
- Move-in inspection (time or vendor fee)
- Admin time for manual document preparation (recurring cost that automation reduces)
- Deposit protection registration (where a fee applies)
Legal-risk checklist and document retention best practices
Signed, timestamped records are often the deciding factor in deposit disputes. The absence of evidence is itself a loss.
Retention schedule:
| Document | Minimum Retention Period |
|---|---|
| Executed lease | Duration of tenancy + 3 years |
| Move-in inventory and photos | Duration of tenancy + 3 years |
| Deposit protection evidence | Duration of tenancy + 3 years |
| Maintenance records | Duration of tenancy + 3 years |
| Notices served | Duration of tenancy + 3 years |
Keep both a physical folder and a digital folder for each tenant. The physical copy is the backup; the digital copy is the working record. Store inspection photos in a named subfolder with the move-in date in the folder name.
Pro Tip: Back up digital tenant files to cloud storage automatically. A hard drive failure before a deposit dispute is a recoverable problem only if you have a second copy.
This article is general information, not legal advice. Retention requirements and disclosure obligations vary by state and city — confirm current rules with local counsel or your state’s housing authority for your specific situation.
How to turn the checklist into an automated workflow
Converting a paper checklist into a triggered workflow eliminates the human-error gaps that appear as portfolios grow.
Automation sequence:
- Application approved → auto-generate lease from tenant data
- Lease e-signed → trigger deposit invoice and protection registration reminder
- Deposit cleared → auto-create move-in inspection task and assign to agent
- Inspection complete → send welcome packet and portal access email
- File complete (all documents signed, deposit recorded, billing configured) → mark tenancy active
A file-completion gate that blocks tenancy activation until every required step is done prevents the most common compliance gaps.
Benefits of automation:
- Consistent records across every tenancy, regardless of which staff member handles onboarding
- Triggered reminders eliminate missed disclosure deadlines
- Photo storage integrated with the inspection task keeps evidence organized automatically
Landlordforms supports this workflow with a template generator for leases and notices, inspection photo storage, and a rent ledger for tracking payments from day one. The property management workflow tips on the Landlordforms blog walk through how to map these steps to your existing process.
Pro Tip: Abstract the lease into your accounting system immediately after e-signature. First-invoice errors — wrong rent amount, wrong start date — are the most common billing mistake in the first month.
Key Takeaways
A complete tenant onboarding document checklist requires six phases, signed and timestamped evidence at every stage, and a file-completion gate before tenancy activates.
| Point | Details |
|---|---|
| Six phases, no shortcuts | Pre-move-in, lease execution, inspection, key handover, orientation, and follow-up must all be completed in sequence. |
| Signed inventory is decisive | A timestamped, photographic move-in inventory signed by all adult tenants is the primary evidence in deposit disputes. |
| Disclosures before possession | Serve all state-required disclosures (lead paint, mold, bedbug) at or before possession to preserve notice and deposit rights. |
| Automation cuts timeline | Parallel checks and e-signatures reduce onboarding time significantly. |
| Landlordforms templates | Use Landlordforms to generate state-specific leases, move-in checklists, and inspection records in a repeatable workflow. |
Why standardized onboarding matters more than landlords think
The conventional wisdom treats onboarding as an administrative hurdle — something to get through before the real work of managing a tenancy begins. That framing gets it backwards.
Onboarding is where the legal and operational foundation of the entire tenancy is built. A missed disclosure, an unsigned inventory, or a deposit receipt that never got issued are not paperwork oversights. They are gaps that surface months later, at exactly the wrong moment, when a notice needs to be served or a deposit claim needs to be defended.
What I find most landlords underestimate is the retention effect. Tenants who receive a professional welcome packet, a prompt 7-day check-in, and a clear maintenance process from day one behave differently. They report issues early, they pay on time, and they renew. The operational cost of a good onboarding process is a few hours. The cost of a poor one shows up in disputes, vacancies, and legal fees.
Standardizing the process — using the same checklist, the same templates, the same file structure for every tenancy — also protects you as your portfolio grows. One unit managed manually is manageable. Ten units managed inconsistently is a liability.
Landlordforms makes tenant onboarding faster and more consistent
Eight hours of manual paperwork per tenancy adds up fast across a portfolio. Landlordforms cuts that time by automating the documents landlords generate most: leases, move-in checklists, rent receipts, deposit notices, and violation letters, all with state-specific compliance built in.
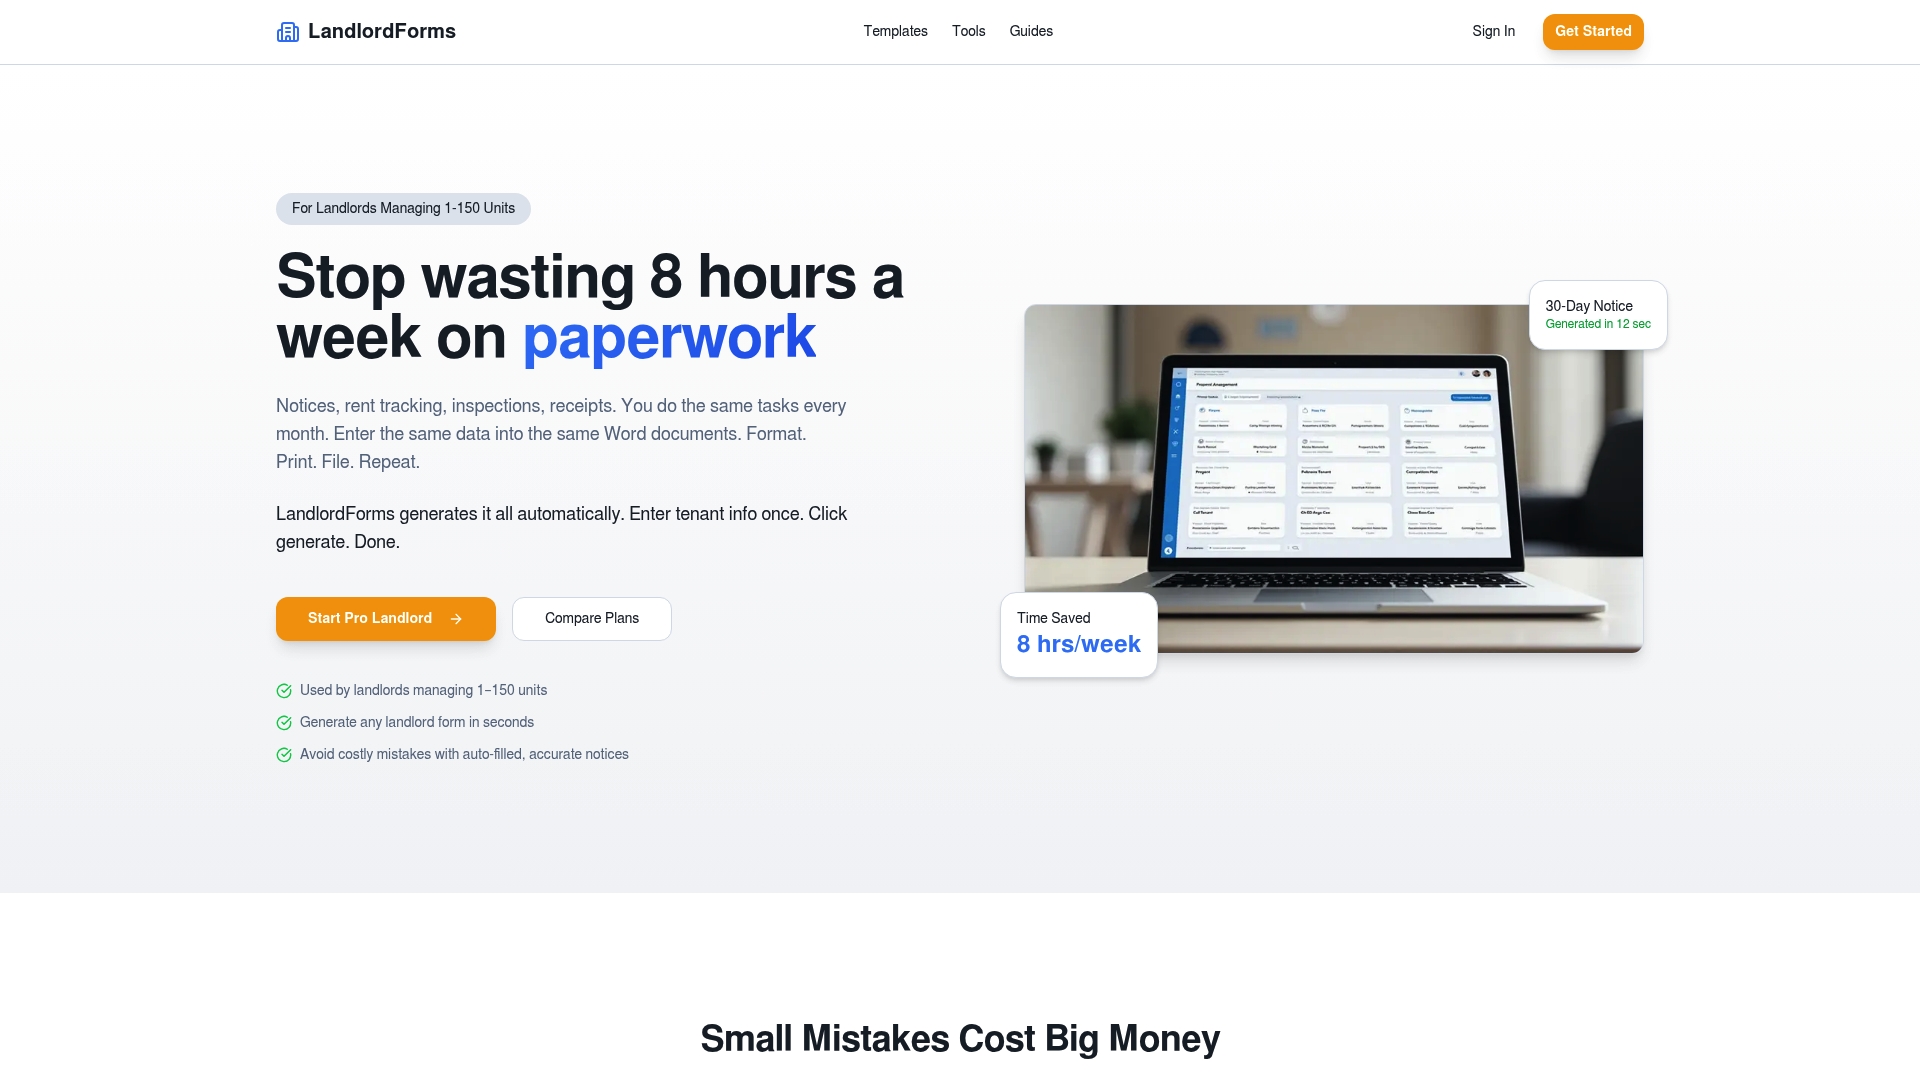
For landlords managing 1–150 units, the practical payoff is a complete, signed tenant file generated in minutes rather than hours, with inspection photo storage and a rent ledger template that tracks payments from the first month. Need to handle a partial move-in month? The rent proration calculator gives you the exact figure before the lease is signed.
Start with the free move-in/move-out checklist template and see how quickly a repeatable onboarding workflow comes together.
Useful sources and where to check local rules
Authoritative resources for state-specific rules:
- Your state’s housing authority or department of real estate (example: California Department of Real Estate for California-specific landlord obligations)
- AAGLA for industry guidance on move-in inspections and deposit practices
- Local housing courts and tenant-landlord mediation offices for jurisdiction-specific disclosure requirements
Landlordforms resources:
- Move-In Move-Out Checklist Template
- Essential landlord documents for new property owners
- Eviction process documentation guide — how onboarding records support later notice capability
For e-signature and contract workflow examples in a property context, 30A Property Collective offers a practical reference on signing and approval processes.
| Resource | Best Used For |
|---|---|
| State housing authority | Confirming current disclosure and deposit rules |
| AAGLA | Move-in inspection and deposit dispute guidance |
| Landlordforms blog | Templates, workflow tips, and document checklists |
| Local counsel | Jurisdiction-specific legal questions |
FAQ
What documents are required for tenant onboarding?
The core documents are a signed lease, security deposit receipt, state-required disclosures (lead paint, mold, bedbug where applicable), a signed move-in inventory with timestamped photos, meter readings, and a key receipt. State and local rules determine which additional disclosures apply.
How long does tenant onboarding take?
Manual onboarding typically takes 2–3 weeks; a fully automated workflow with parallel checks and e-signatures can complete the process in under 7 days.
Why is the move-in inspection so important?
A signed, timestamped photographic inventory is the primary evidence in deposit disputes — without it, landlords lose the practical ability to justify deductions at move-out.
What state-specific disclosures do landlords need to serve?
Federal law requires a lead paint disclosure for pre-1978 properties. State requirements vary: mold history and bedbug disclosures are mandatory in many states. Check your state housing authority or consult local counsel before possession.
Can Landlordforms help automate the onboarding checklist?
Yes. Landlordforms generates state-specific leases, move-in checklists, rent receipts, and inspection records, and stores photo documentation — converting a manual checklist into a repeatable workflow for landlords managing 1–150 units.